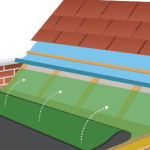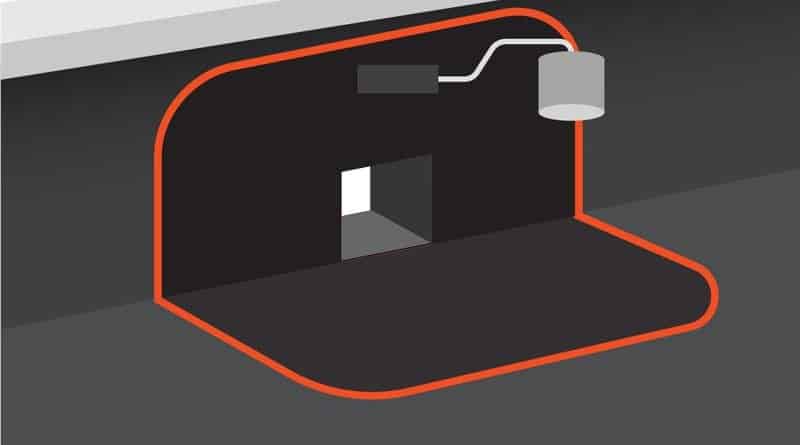
INSTALLING A WALL DRAIN – FLEECE-BACKED
Training hub – all your questions answered!
For the best results, please follow the instructions below.
If you still have questions, please feel free to contact us using the form here…
STEP 1
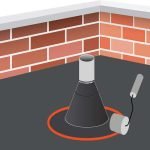
Offer the wall drain into the pre-cut hole in your parapet wall and mark around using a white pencil or scribe


STEP 2
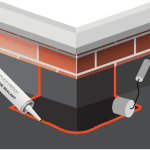
Remove the wall drain and apply a thin bead of lap edge sealant behind the drain.
Once the sealant is fully applied, push the drain back into position to bed it into the sealant.
STEP 3
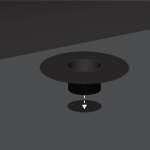
Fix drain into position using either countersunk screws or clout nails.


STEP 4
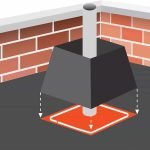
Mark 70 mm either side of the drain using a white pencil or scribe.
STEP 5
Measure between the outer lines using a tape measure to determine the length of the flashing tape. Using the newly determined measurements, cut 2 pieces of 225 mm flashing tape to length.


STEP 6
Prime the drain where the flashing tape is to be applied.
STEP 7
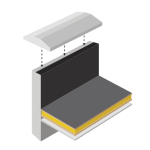
Starting from the bottom fix the base section of flashing first and work into the angle change.


STEP 8
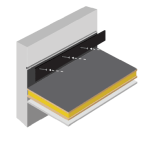
Fix the top section of the tape working from top to bottom overlapping the bottom section of tape.
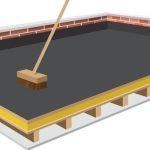
Once the tape is fixed in place pressure must be applied with a seam roller to ensure correct adhesion.
All FlexiProof tapes are pressure sensitive and always require rolling.
STEP 9
You will now need to seal around this detail using lap edge sealant.