GUTTER DRIP TRIM – INTEGRA TRIM
Training hub – all your questions answered!
For the best results, please follow the instructions as detailed below.
If you still have questions please feel free to contact us using the form here…
STEP 1
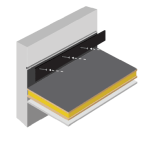
Fix the correct length of timber batten (required width x 38mm height x 25mm depth) to the front of the fascia with steel ringshank nails or countersunk screws. Make sure the top edge of the batten is always level with the top edge of the roof decking. If a timber batten is already in place, ensure it is in good condition – or carefully remove and replace it (following the steps above).

STEP 2
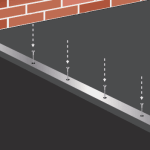
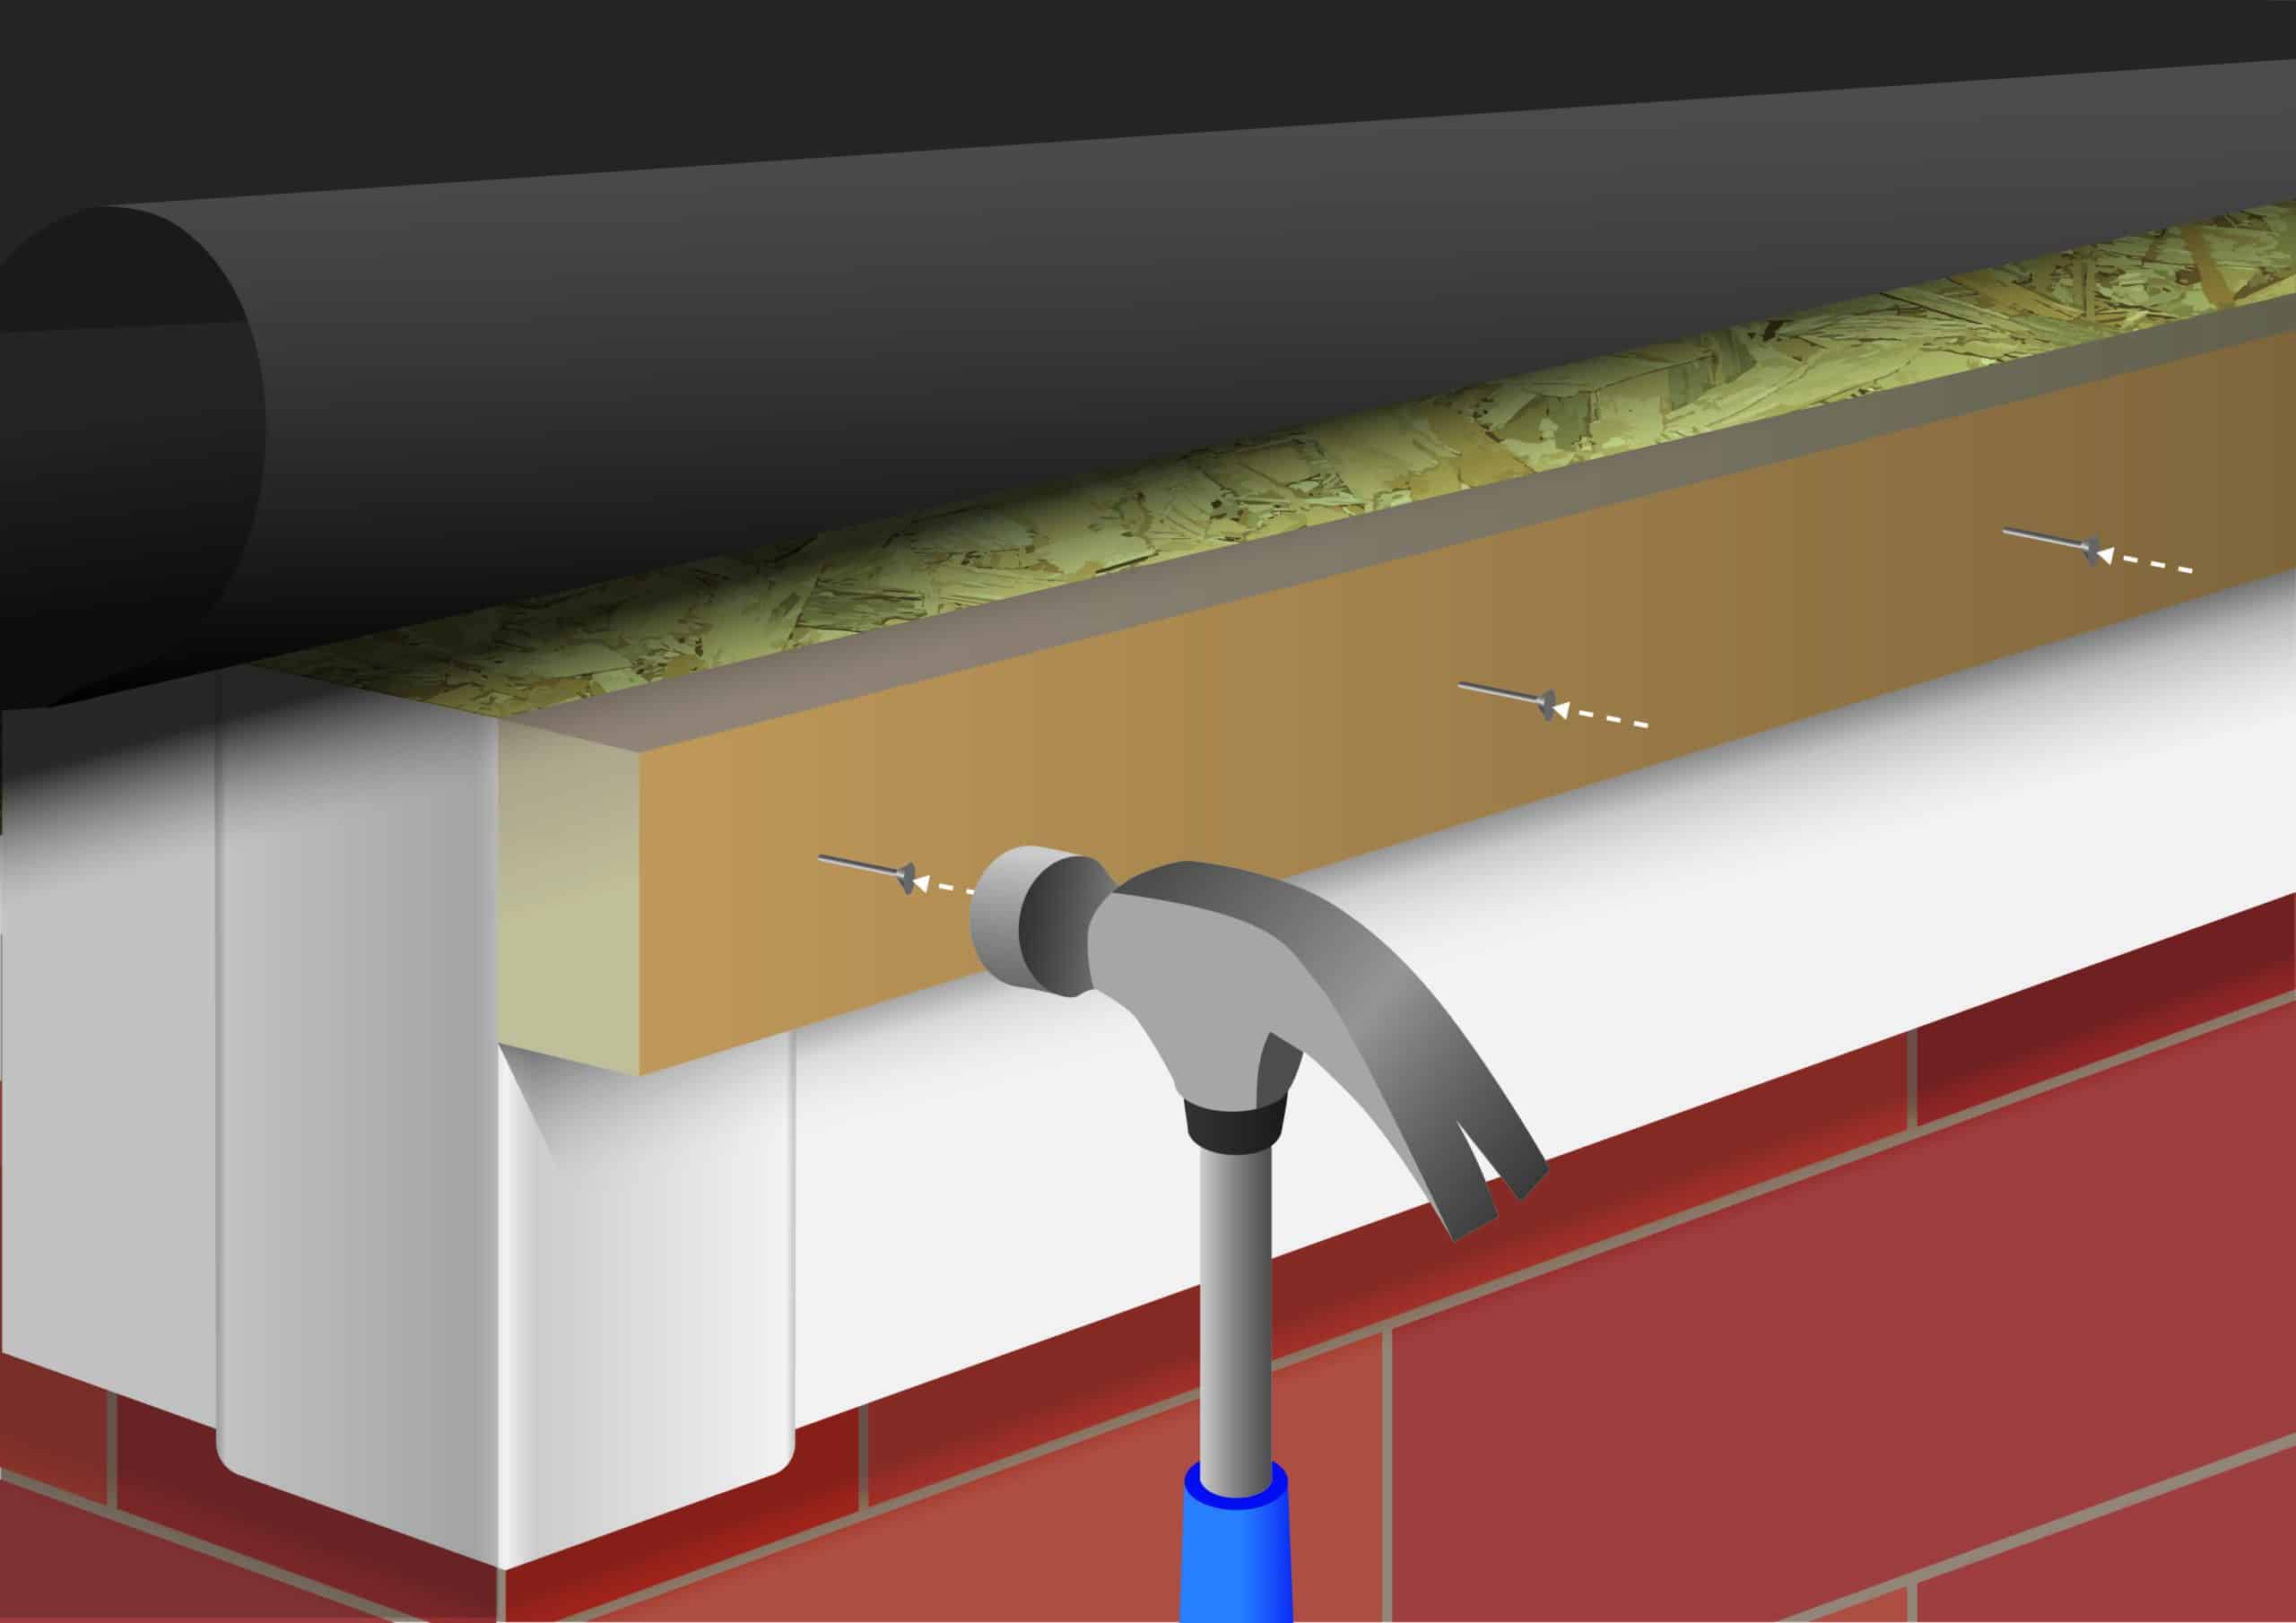
Hold the length of back plate in place and carefully secure it to the batten by hammering-in 50mm ringshank nails* at 200mm spacings.
* Or use countersunk screws if preferred.
STEP 3
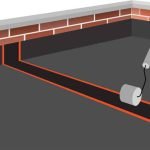
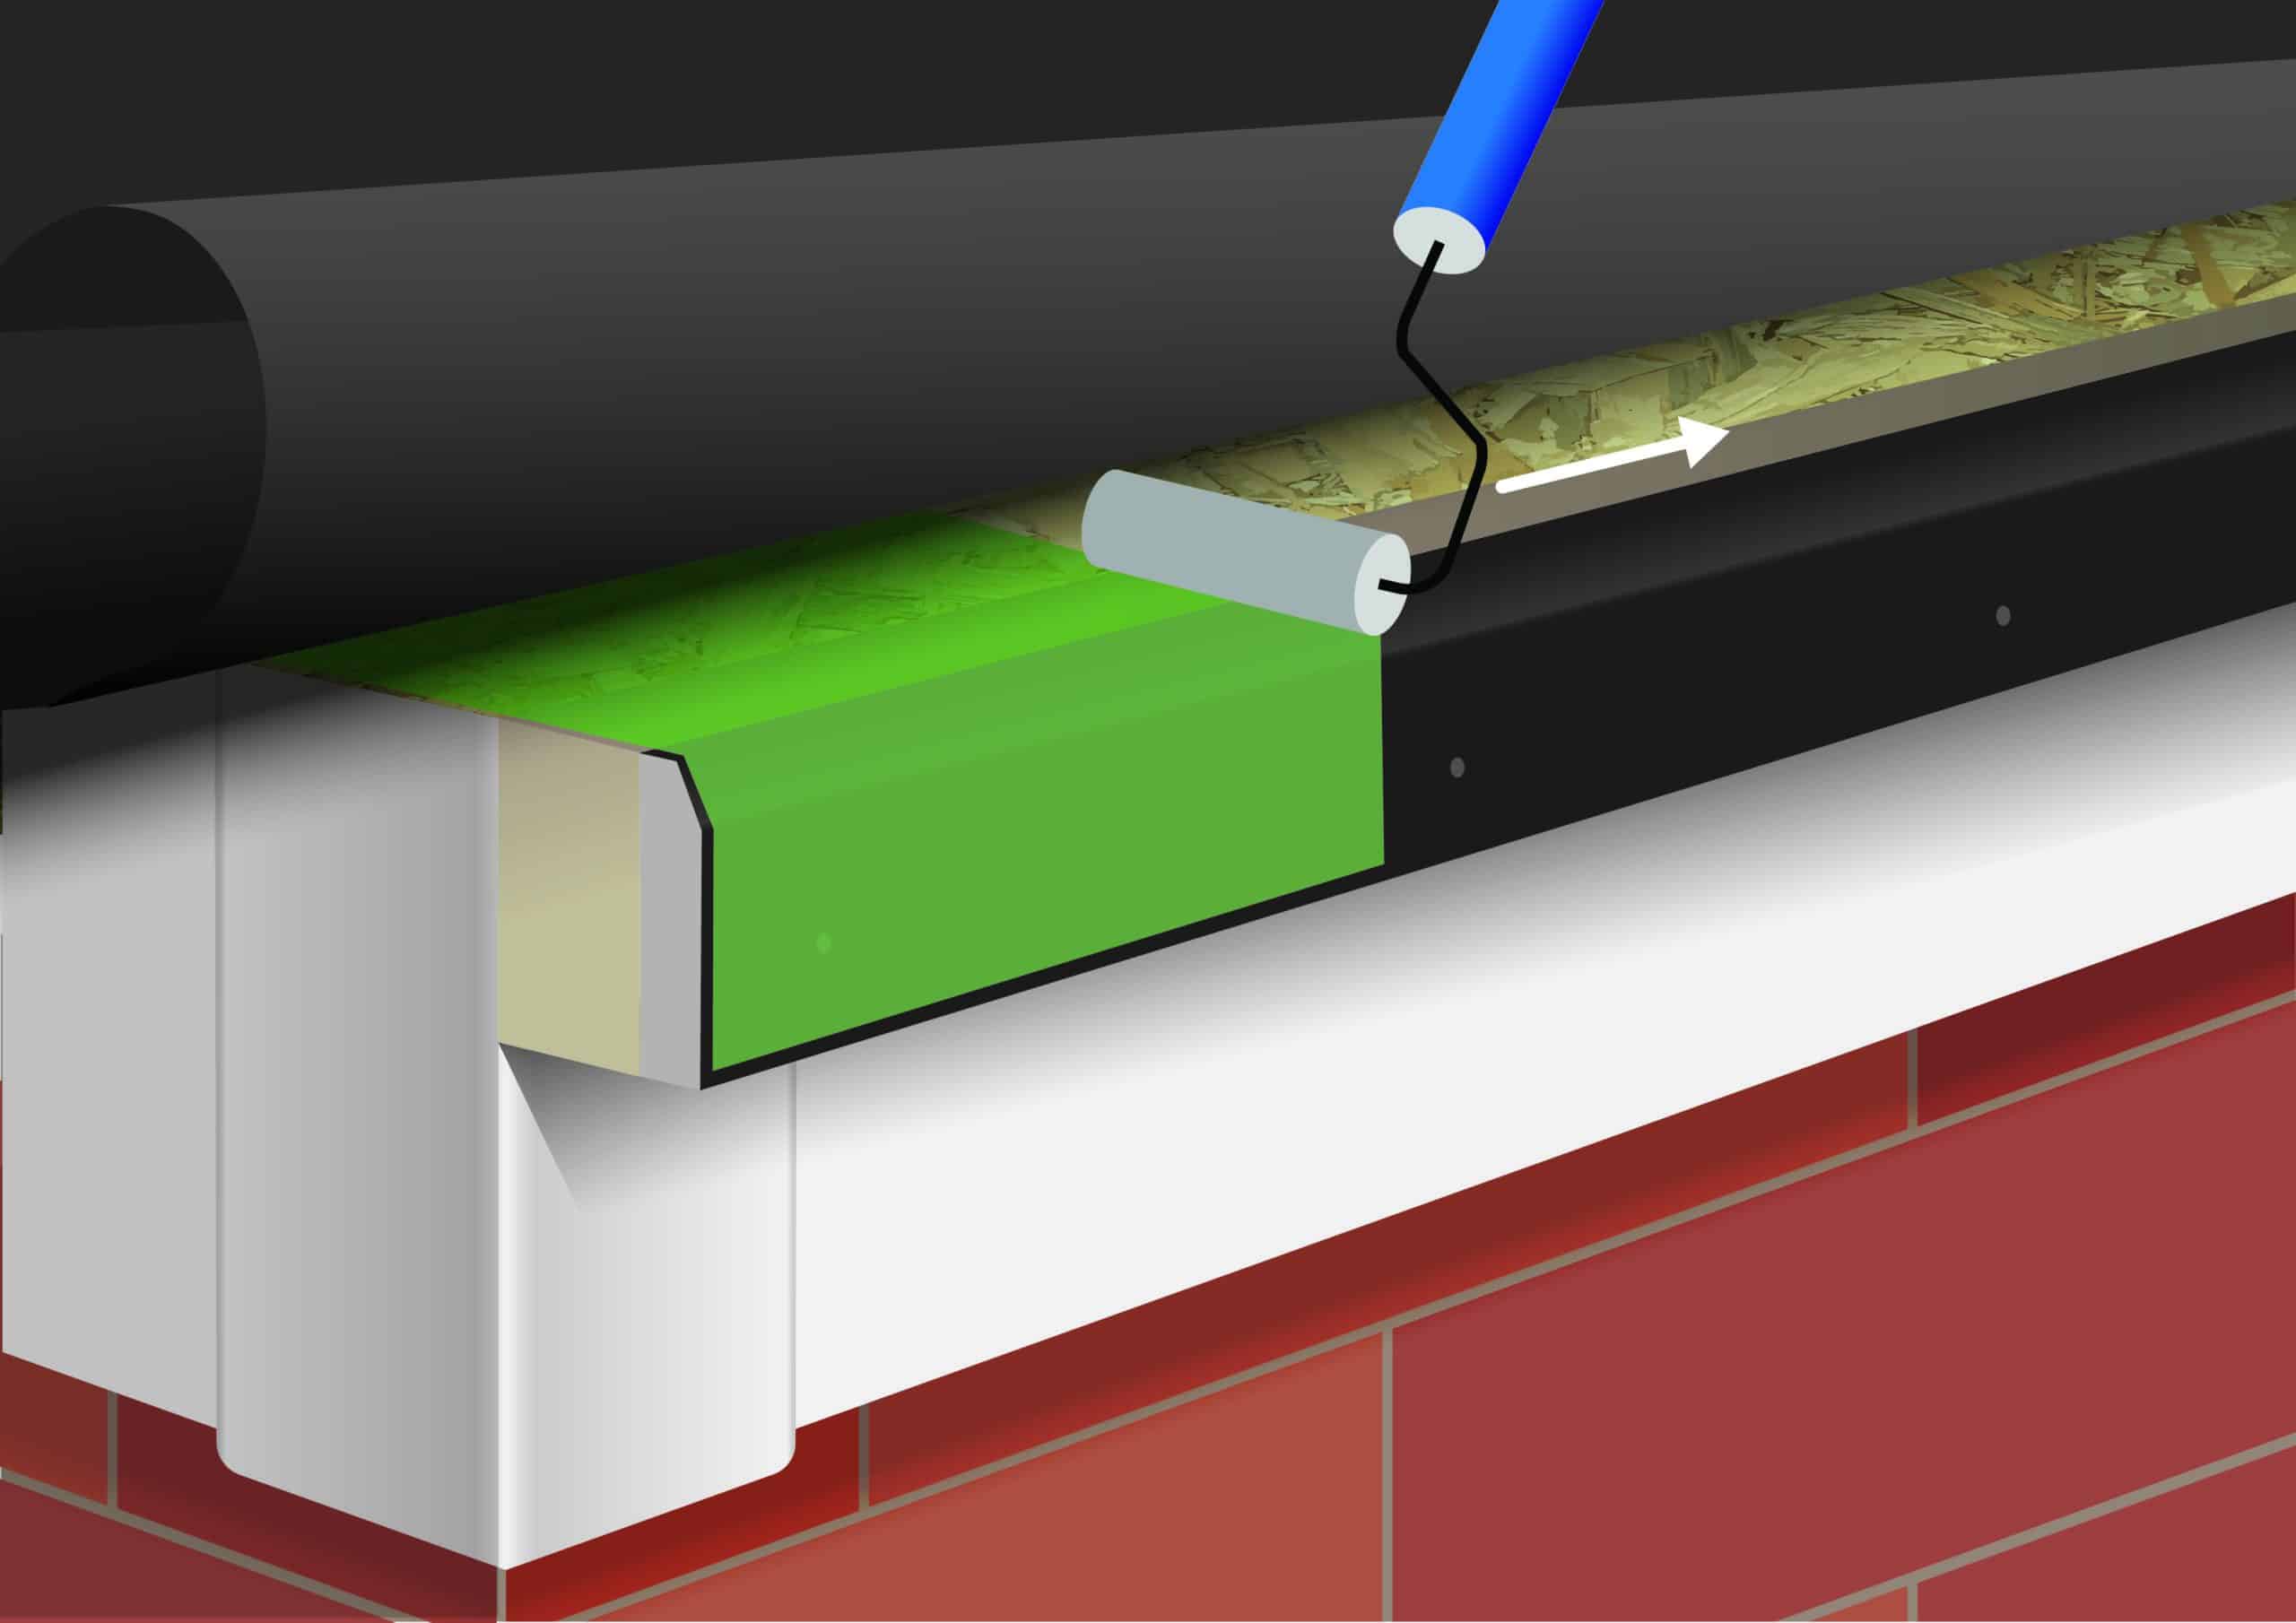
Use a roller* to apply an even coating of FlexiProof Contact Bonding Adhesive along the exposed roof deck and top of the timber batten.
* When using FlexiProof Fleece Backed, use FlexiProof Contact Spray Aerosol.

STEP 4
Apply an even coat of FlexiProof Contact Bonding Adhesive along the underside of the membrane.
(We recommend using a roller for FlexiProof One Piece membranes and a spray for FlexiProof Fleece Backed sheets.)
STEP 5
Carefully and evenly roll the rubber sheet down the roof deck, then onto the timber batten and Gutter Trim back plate.
Make sure to smooth-out any air bubbles or creases, and confirm good adhesion, before progressing to Step 6.

STEP 6
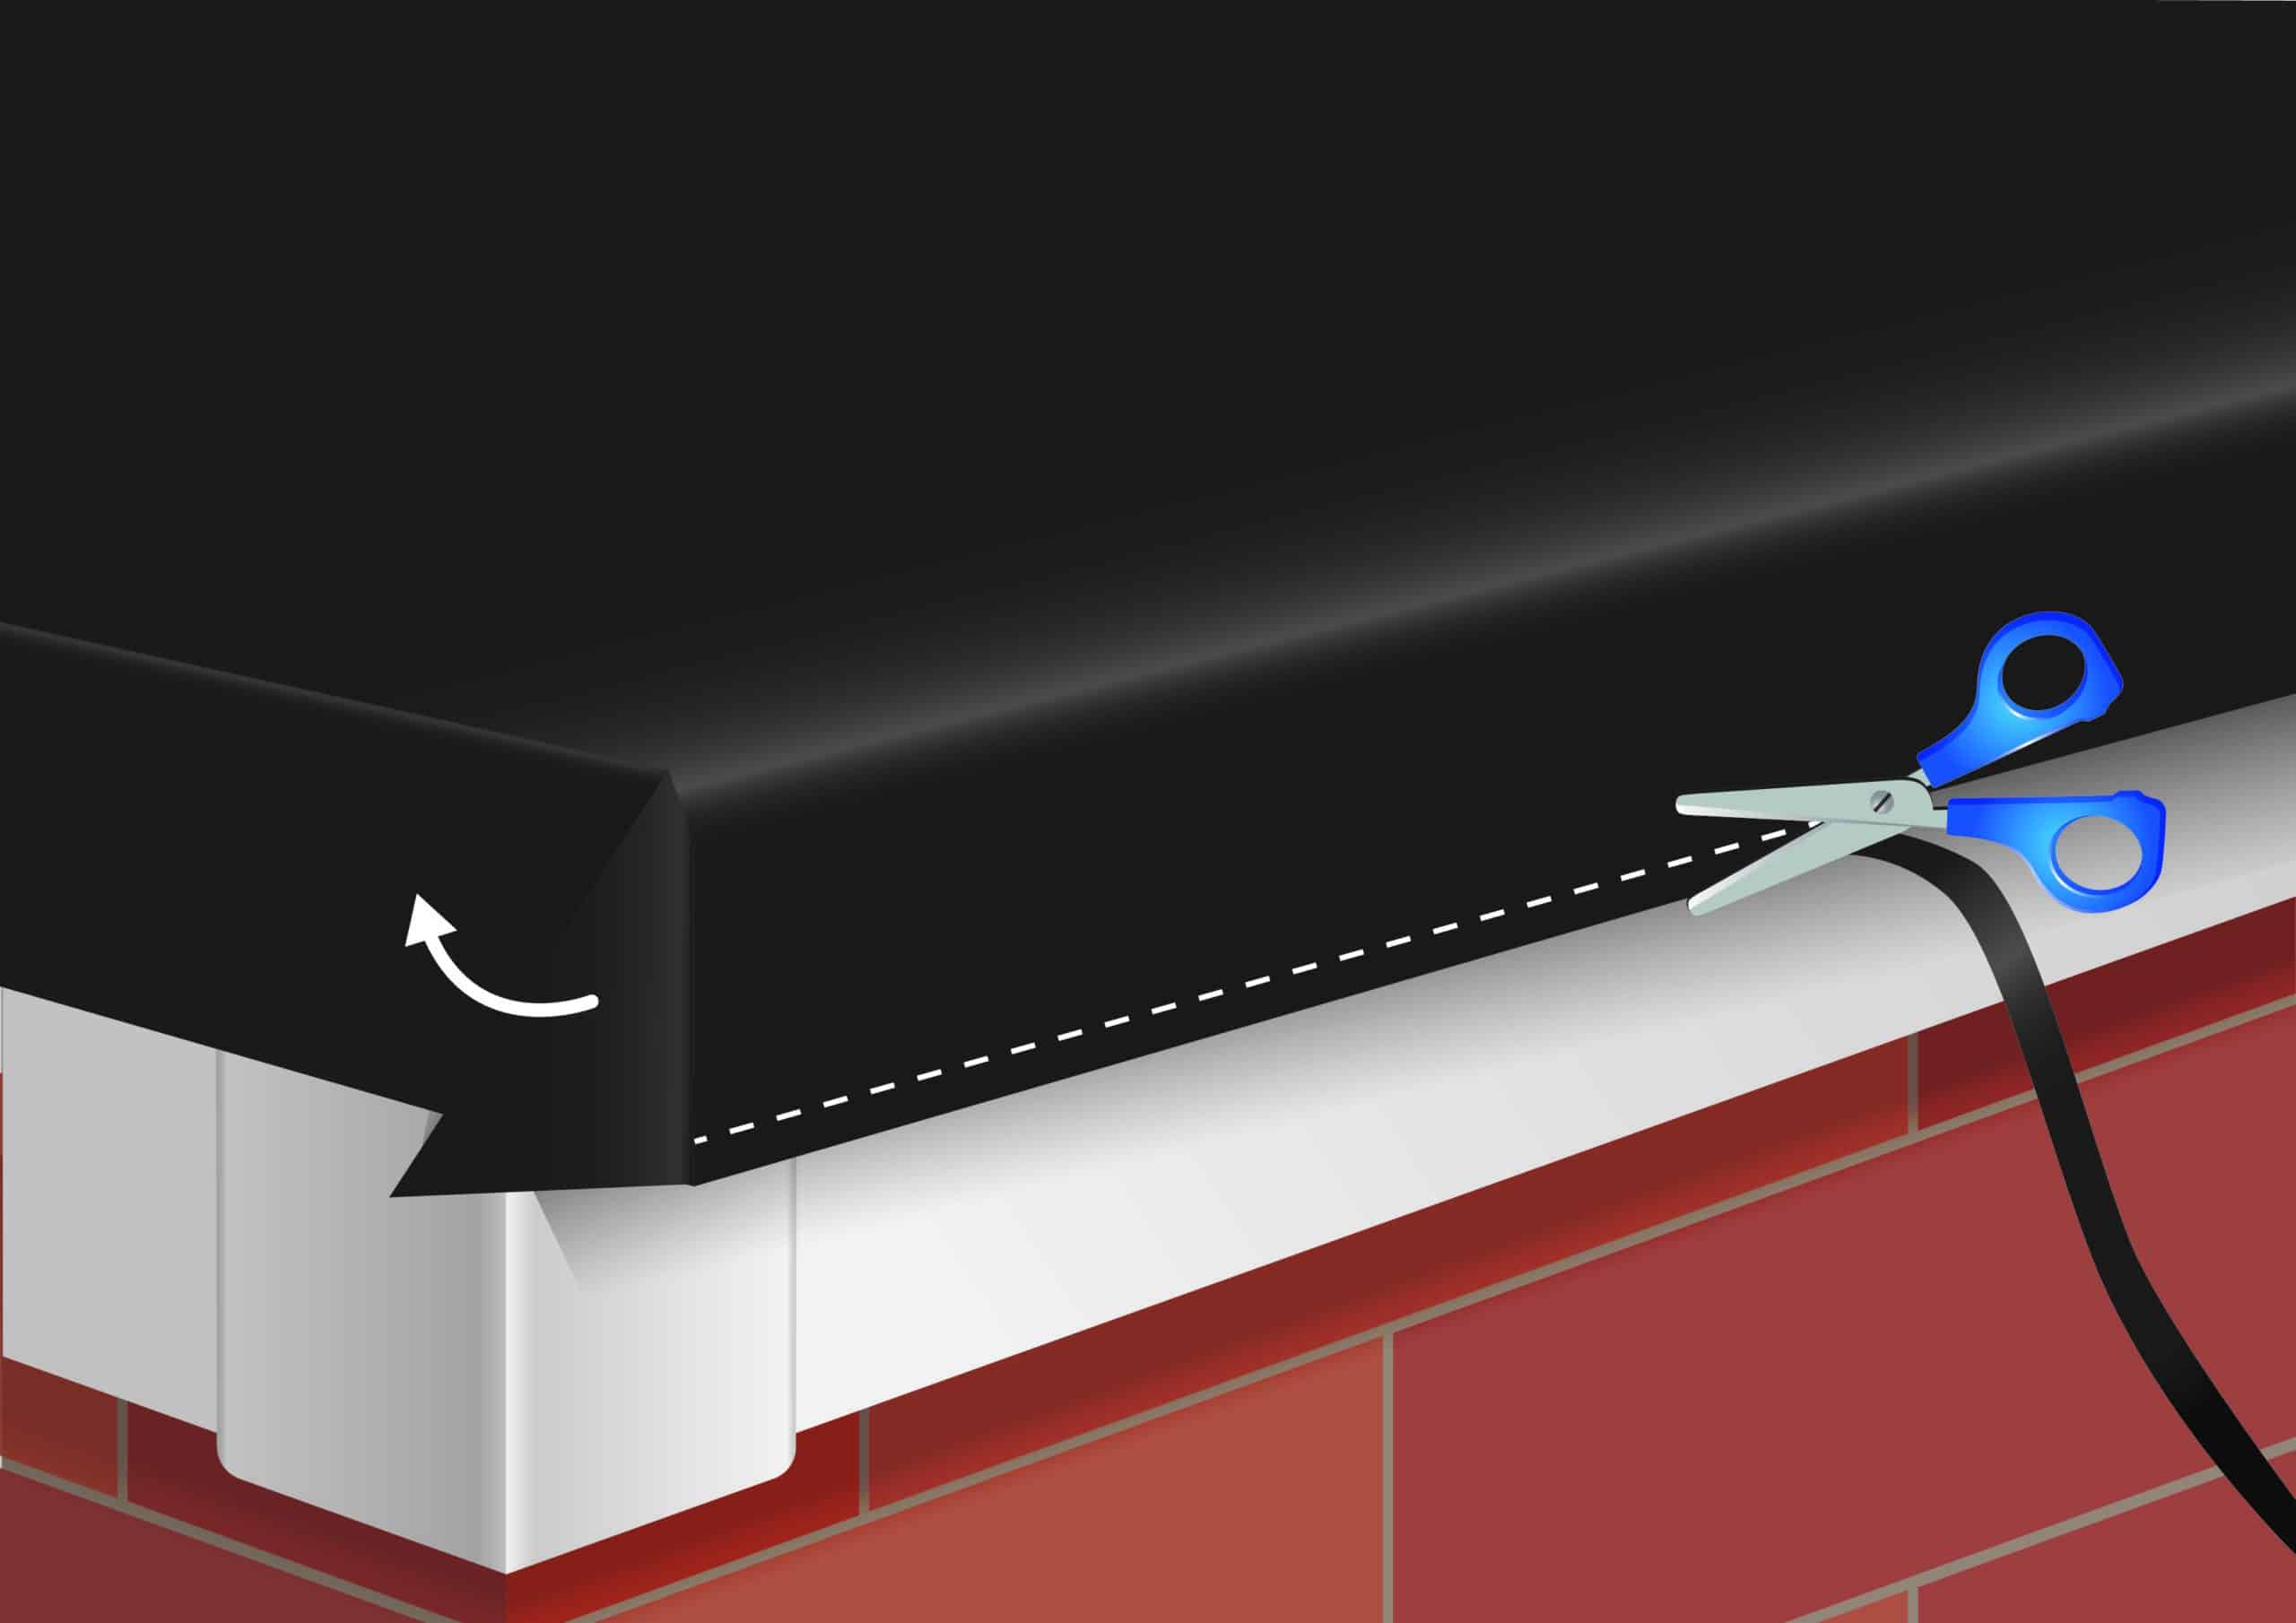
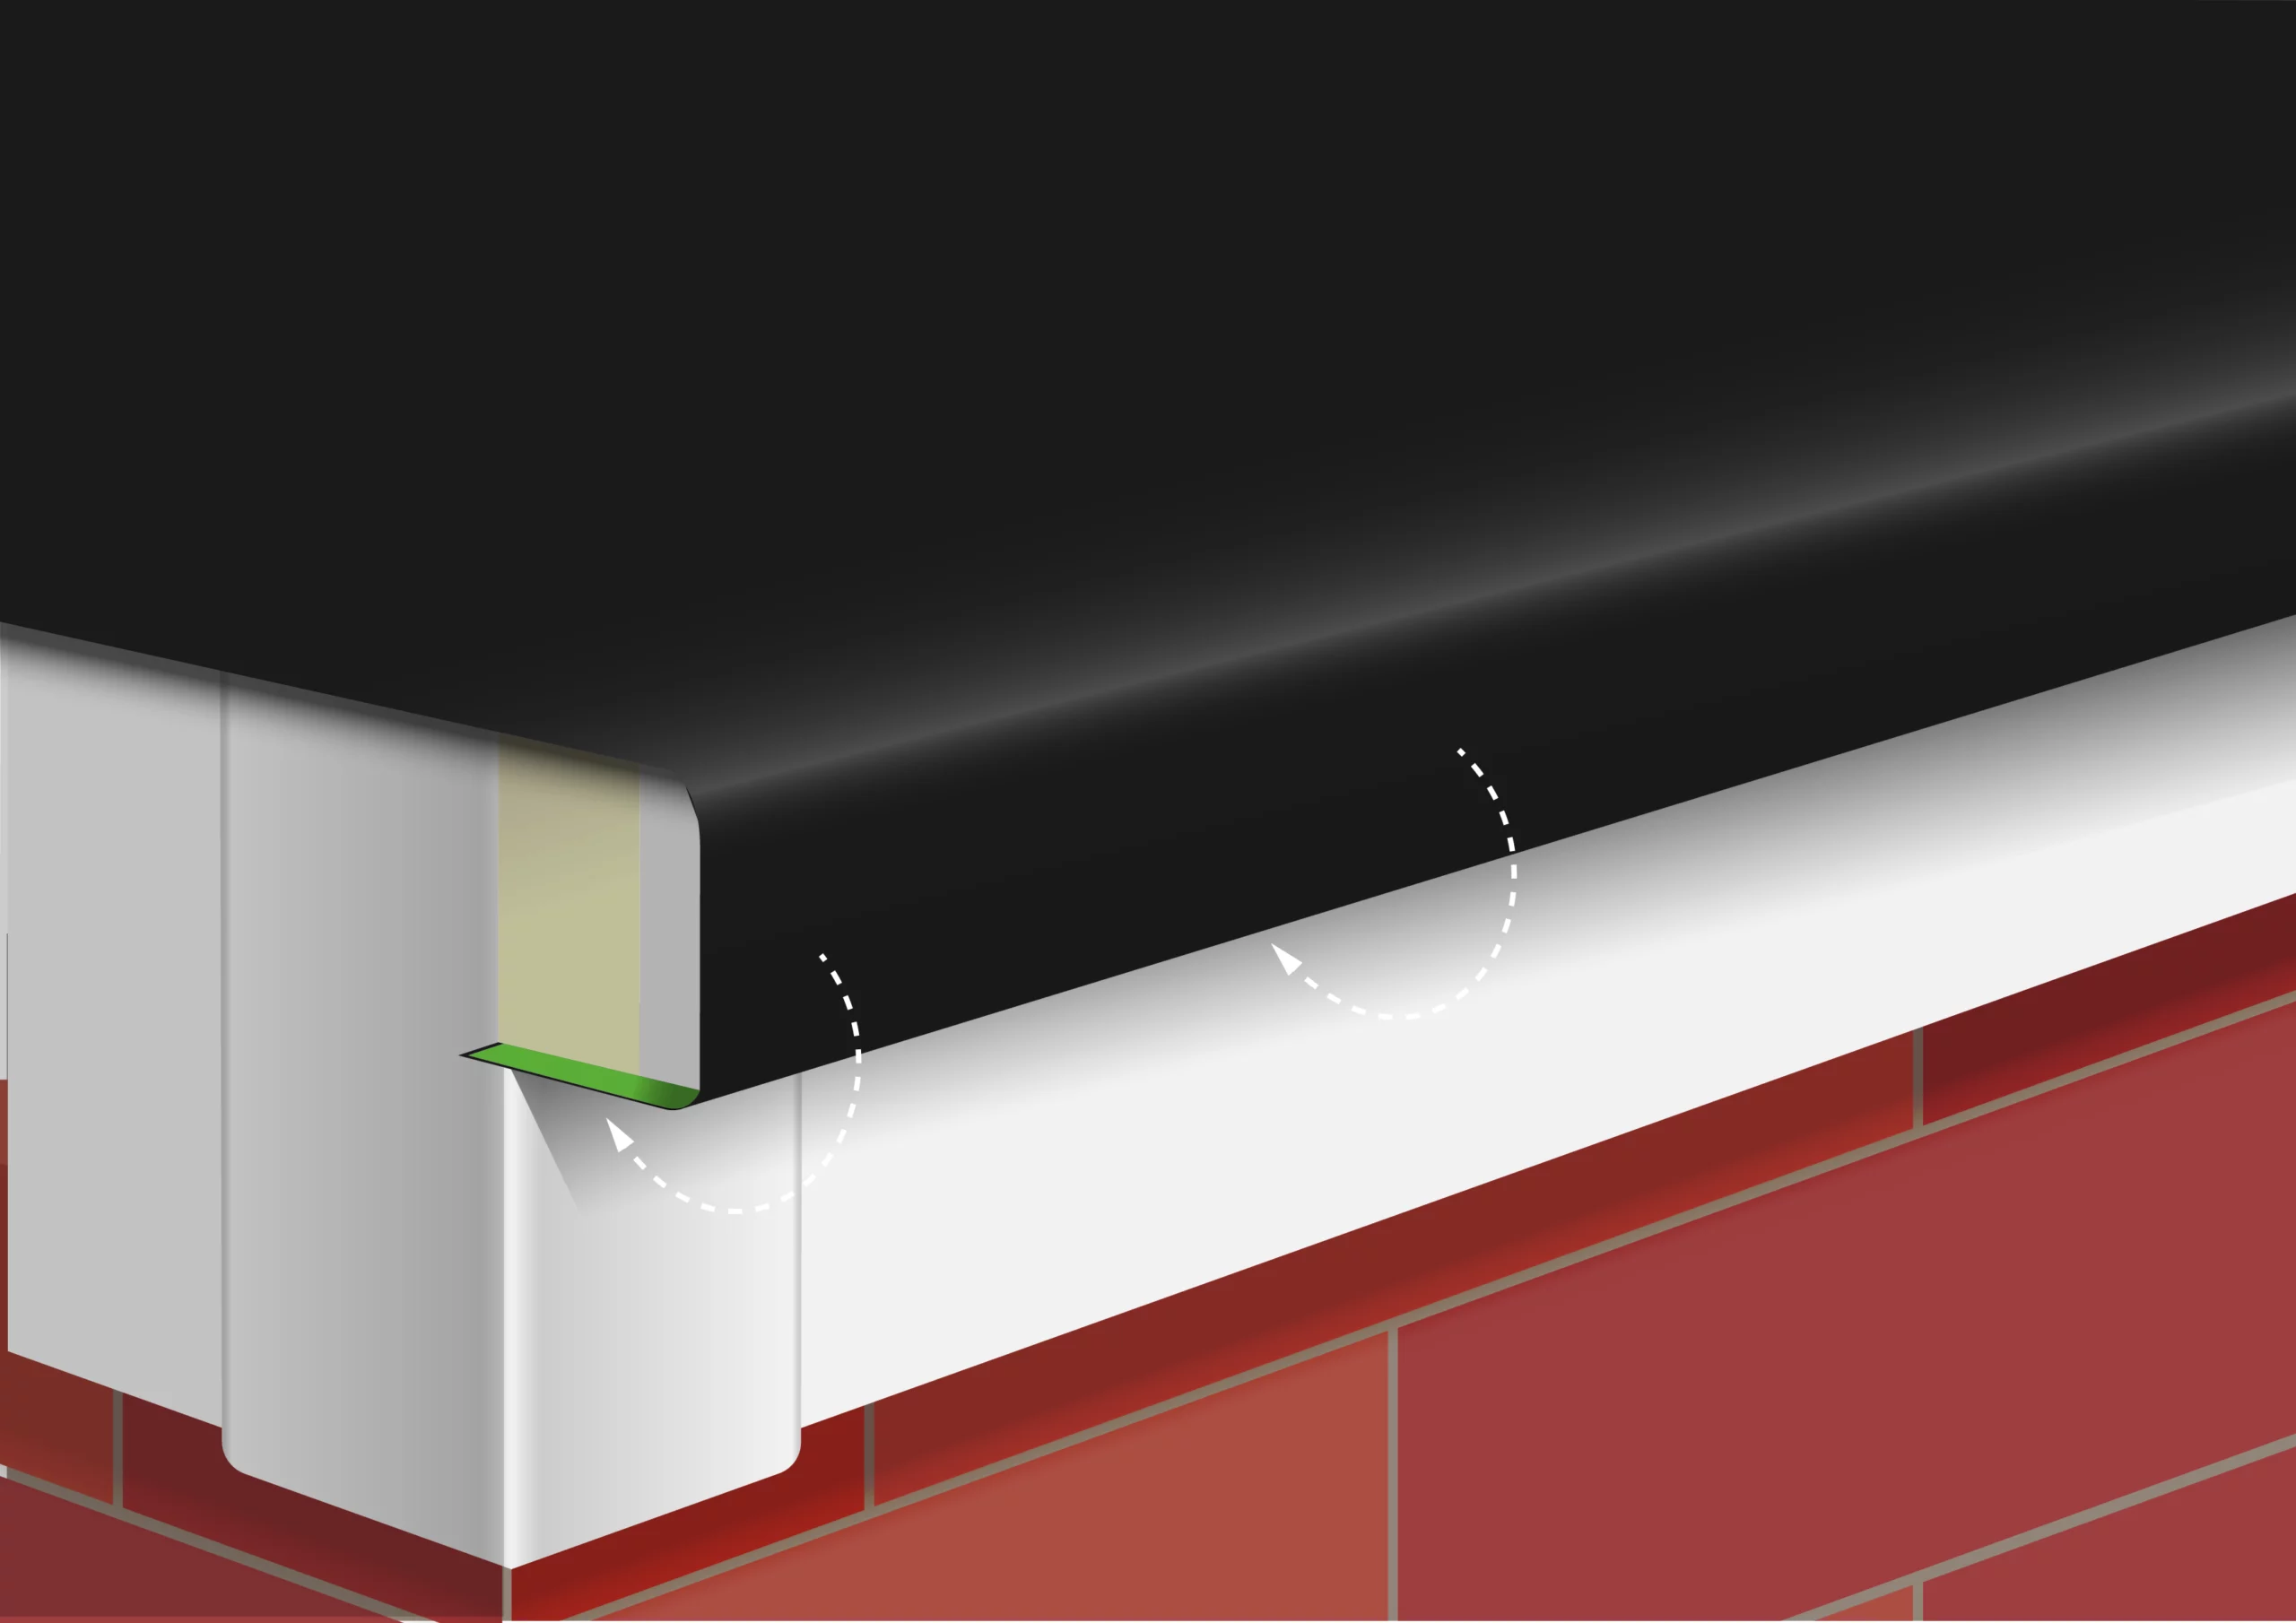
Neatly snip-off any excess membrane overhanging the Gutter Trim back plate. Fold and tuck the membrane in on the side to create a flap.
STEP 6.5 (For Fleece Backed EPDM)
When installing FlexiProof Fleece Backed EPDM membrane, also glue the membrane under the batten.
(This stops any excess rainwater soaking into any exposed fleece.)
STEP 7
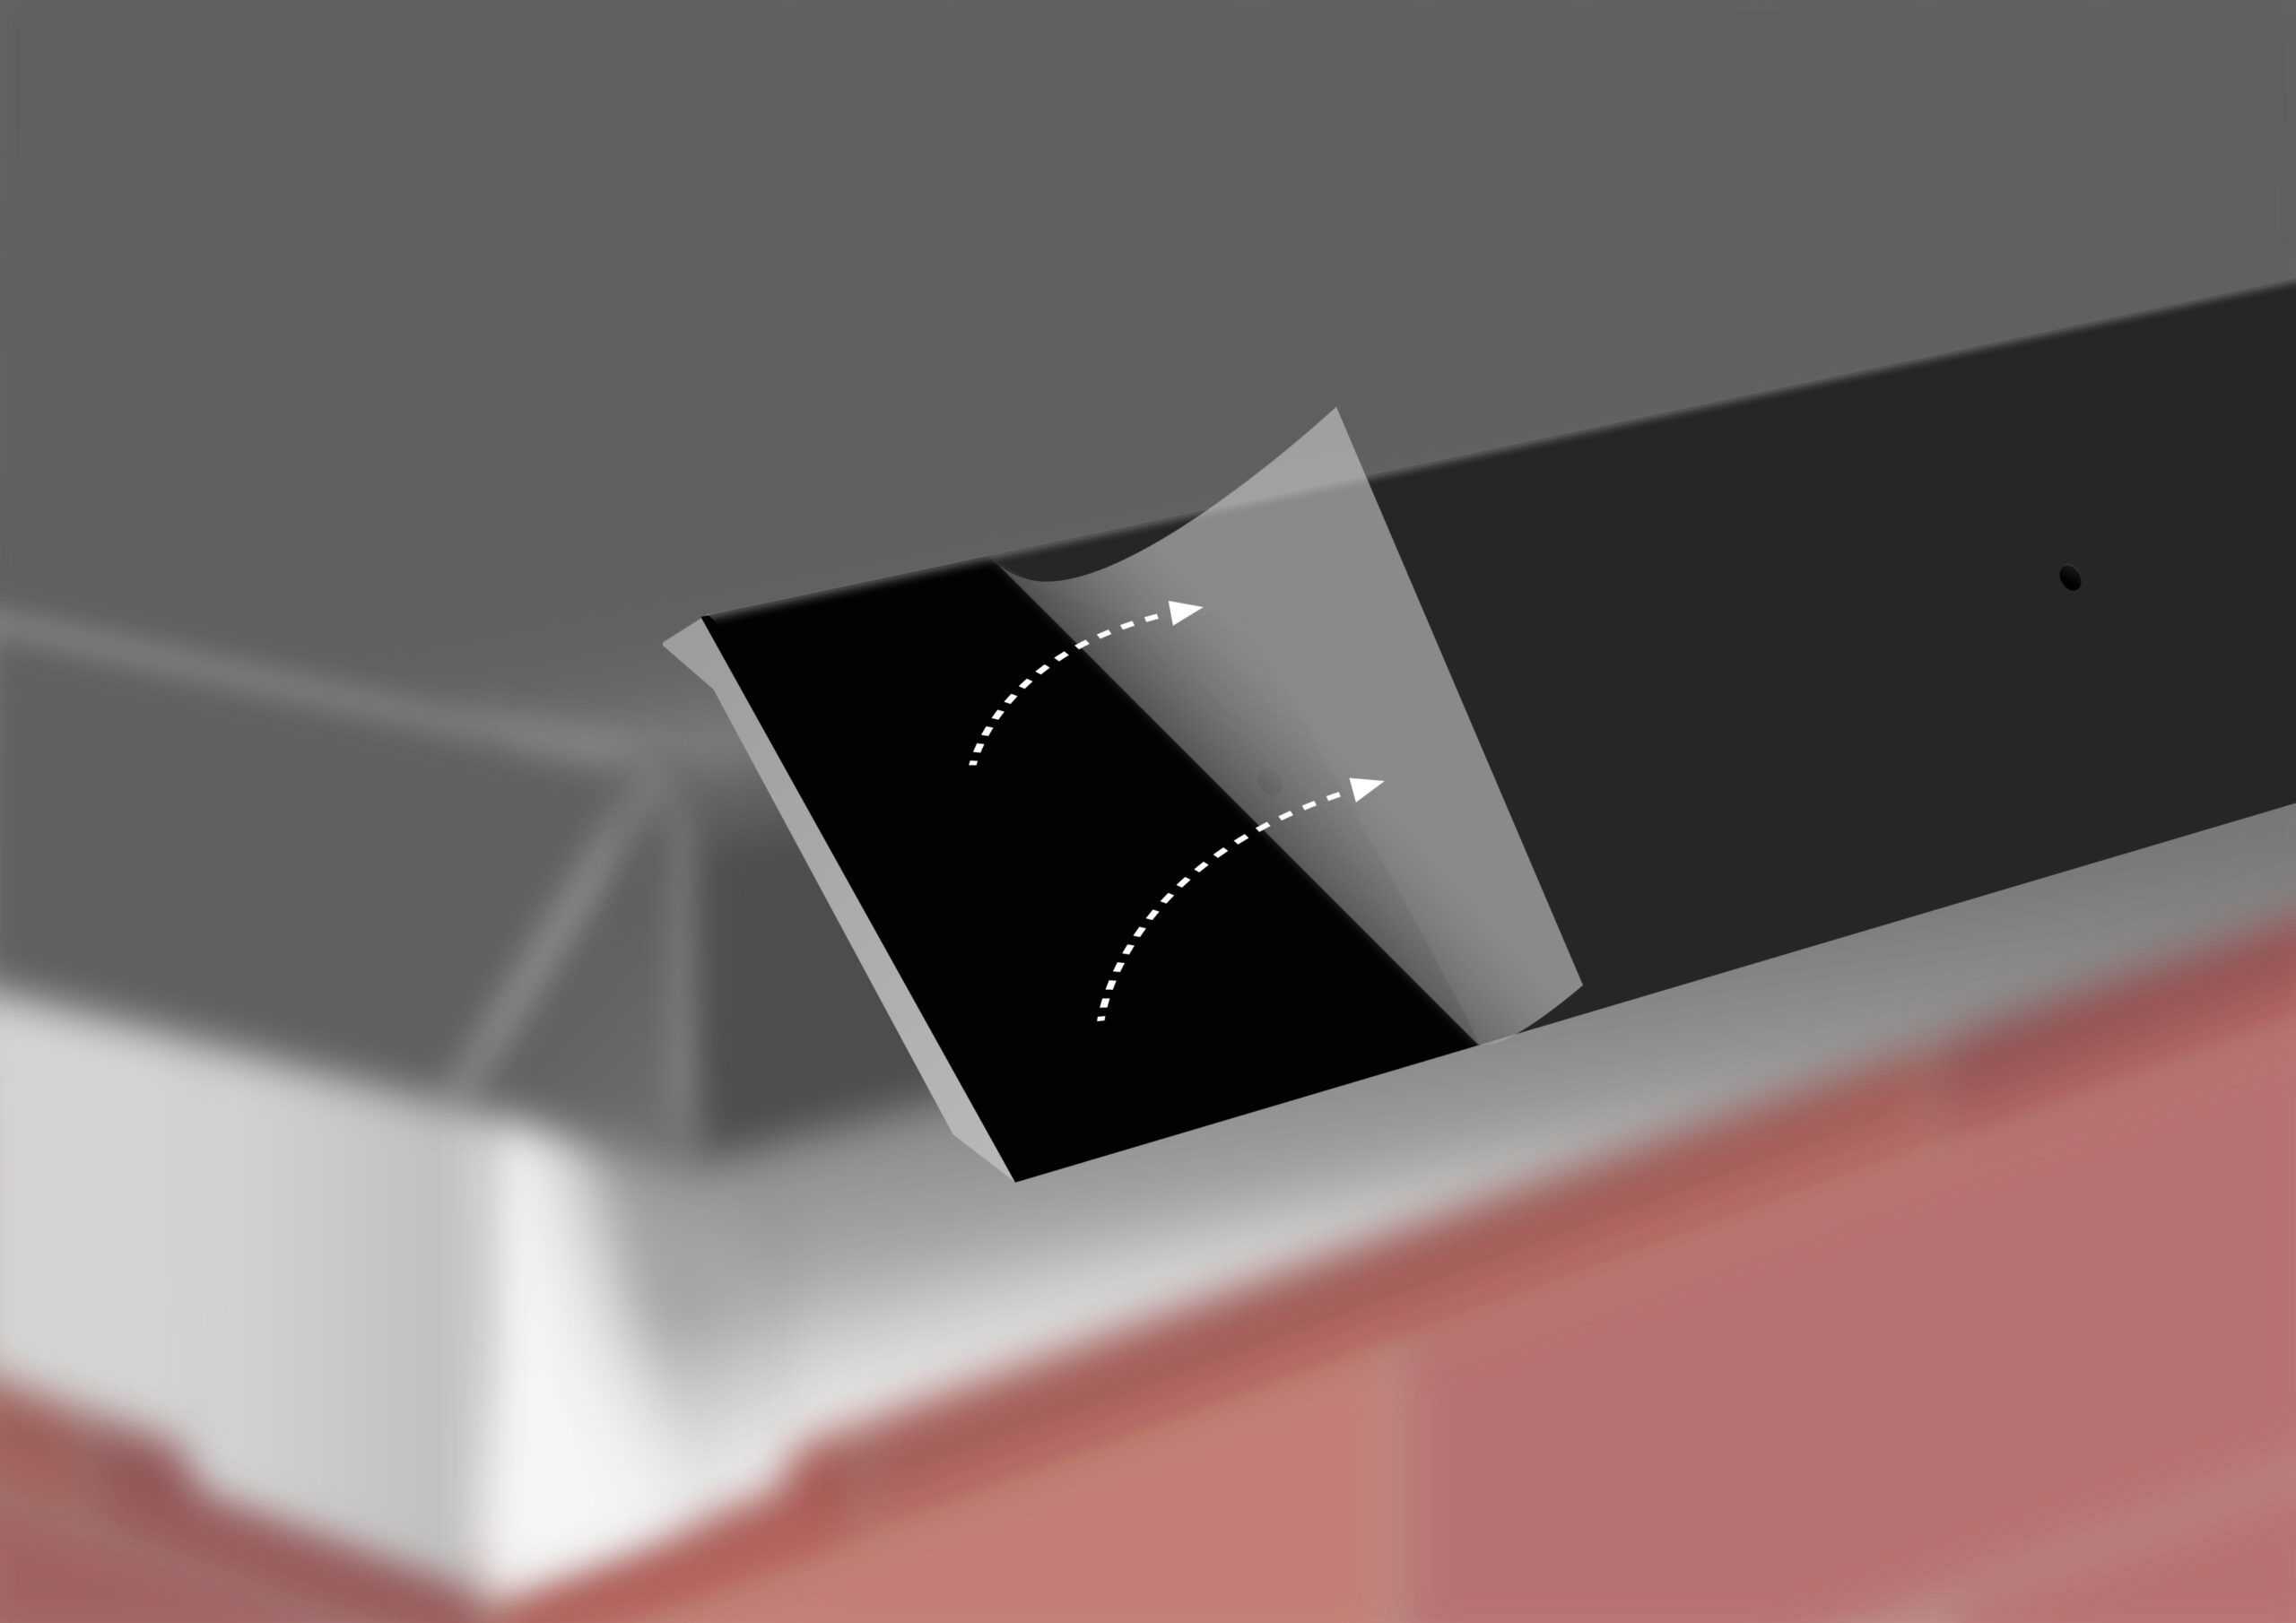
Carefully peel-off the protective film from the outside surface of the length of Gutter Trim to be installed.
STEP 8
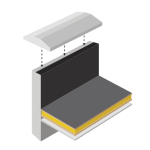
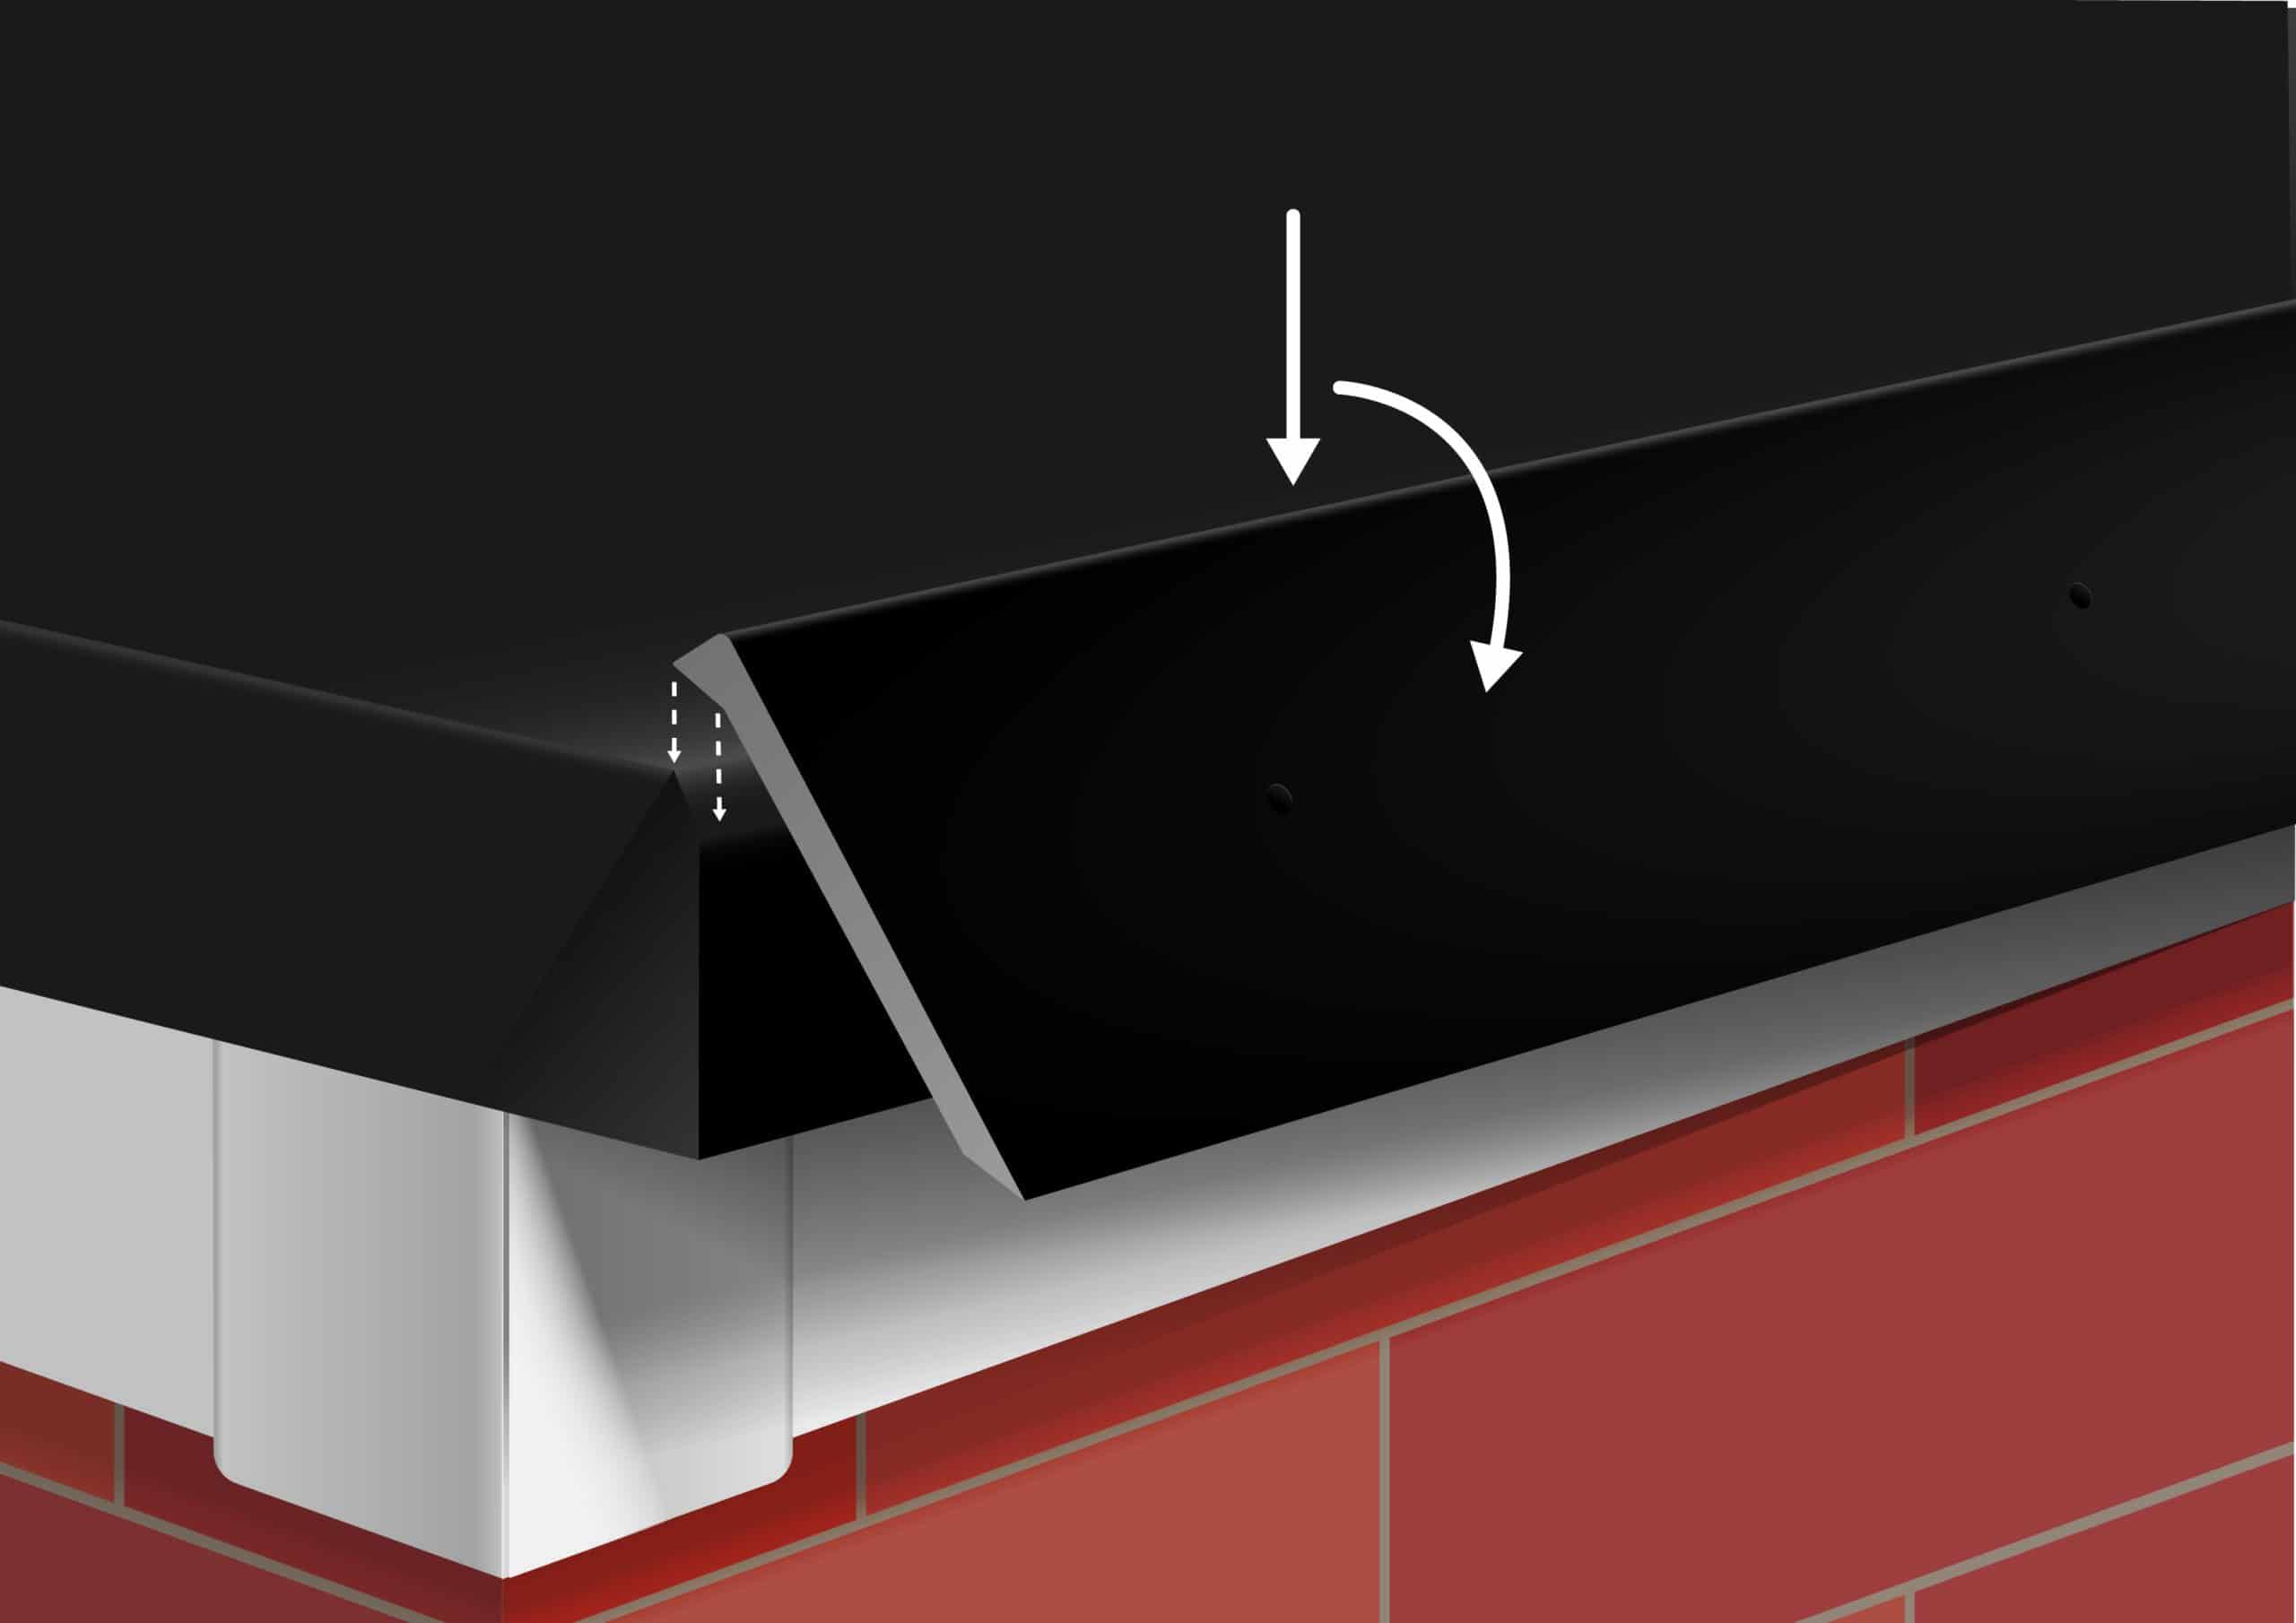
Position the length of the Gutter Trim front plate onto the Gutter Trim back plate, which is now covered with a rubber membrane.
Firmly press the Gutter Trim front plate down and in to create a watertight seal between the FlexiProof EPDM membrane and the backplate.
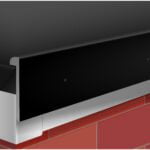
(The top edge of the Gutter Trim front plate is CAD-designed to fit slightly below the level of the FlexiProof EPDM membrane to ensure rainwater is effectively directed off the roof.)

STEP 9
Hold the length of Gutter Trim in place and carefully hammer a 50mm PolyTop nail into every pre-drilled hole along that section.
Refollow the steps above to install the next length of Gutter Trim.


