INSTALLING THE FLEXIPROOF RUBBER EPDM MEMBRANE
Training hub – how to install epdm roofing!
For the best results, please follow the instructions as detailed below.
If you still have questions, please feel free to contact us using the form here…
STEP 1
Rubber Roof Installation
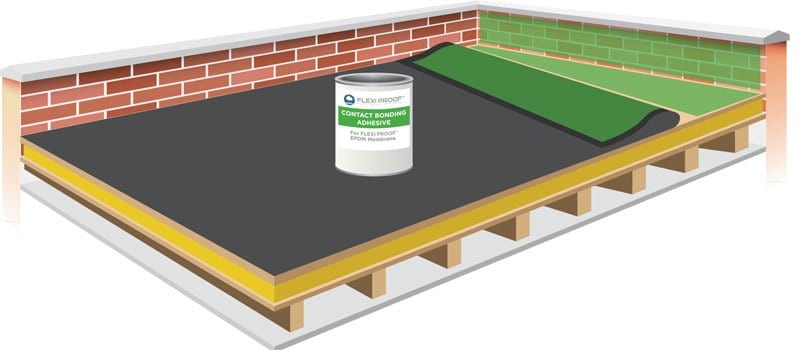
Unroll the FlexiProof membrane over the substrate so that the sheet is in the desired position and allow it to relax for 1 – 2 hours until the transportation creases have dropped out (Please note: During colder months, keeping the membrane stored at room temperature will help speed up the relaxation time also applying gentle heat to the membrane will help with sharp creases).
Carefully open the tub of deck adhesive (or contact adhesive if required) and stir.
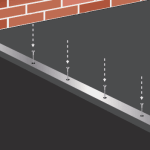
Using a medium pile roller on a pole, apply the deck adhesive evenly to the main area of the roof deck, paying attention to leave a 150 mm strip on the roof edge to be bonded with contact adhesive.


STEP 2
Once adhesive coverage is achieved, progressively place the membrane into the wet adhesive and broom into place, paying attention to expel all trapped air.
STEP 3
Carefully open the tub of contact adhesive, stir, and pour the appropriate amount of adhesive into the roller tray.
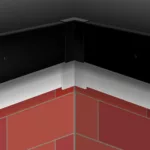
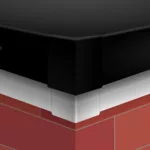
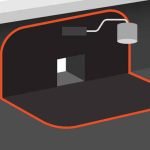
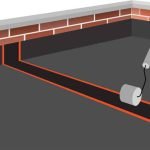
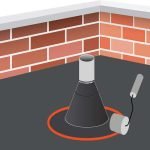
Using a contact adhesive roller, apply the contact adhesive in a 150 mm band to the roof perimeter, on the back of the membrane and up the wall.


STEP 4
Once both surfaces coated with contact adhesive are touch dry, progressively bring the two surfaces together, starting from the bottom and working up.
Ensure the contact adhesive is applied using a thin coat and allowed to fully tack off to prevent gas bubbles from forming under the membrane sheet.