EPDM Roofing Calculator

Installing The 68mm – 110mm Roof Deck Drains | Training Hub

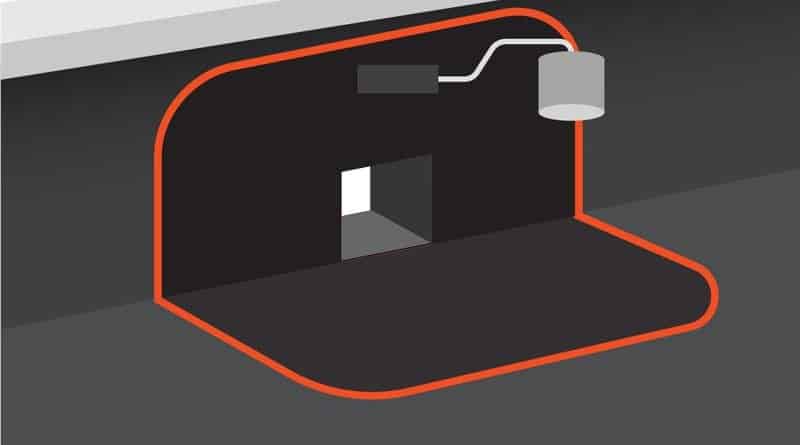
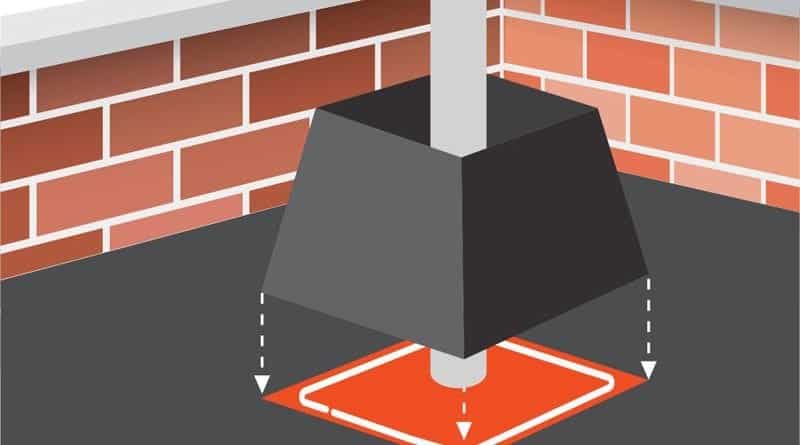
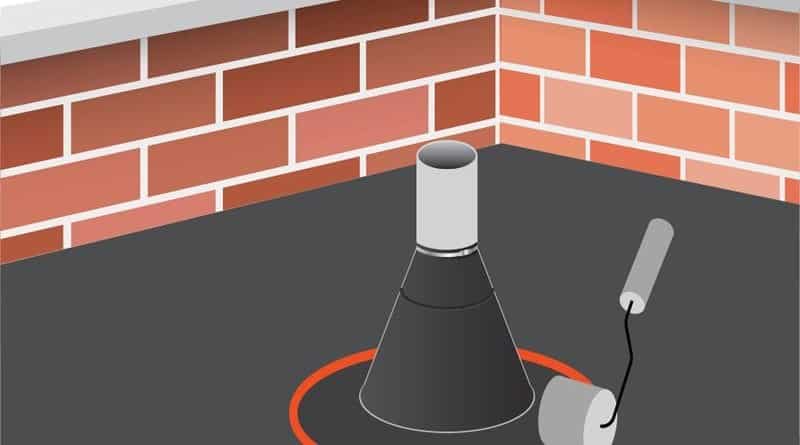
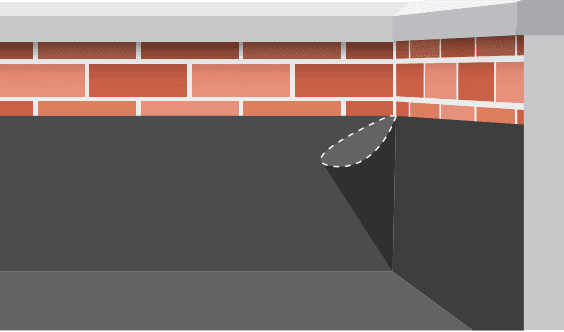
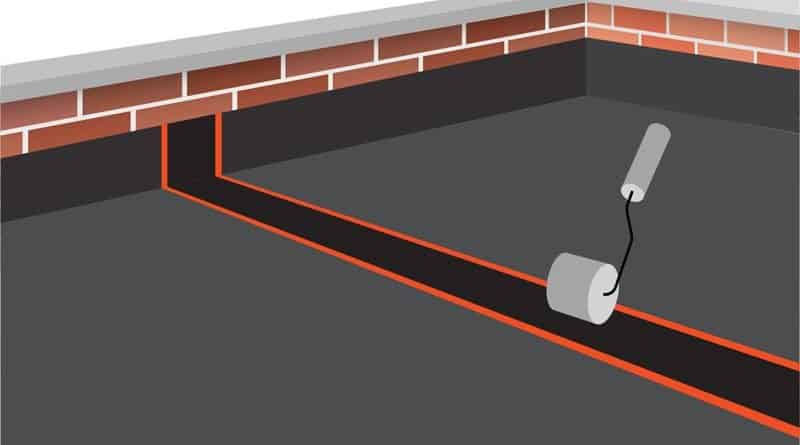
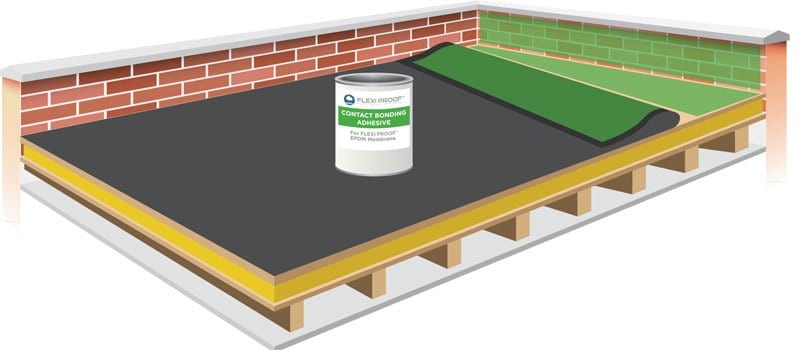
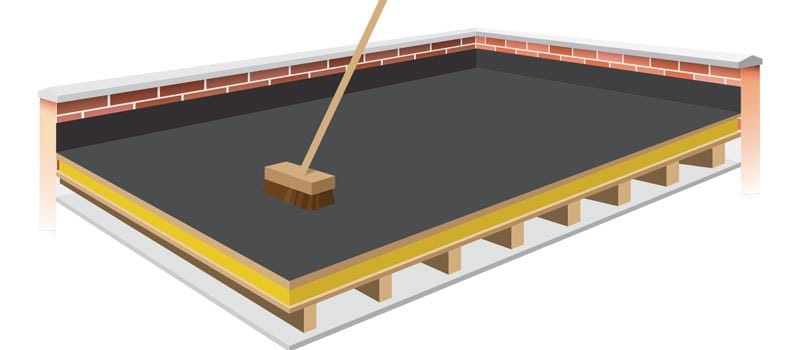
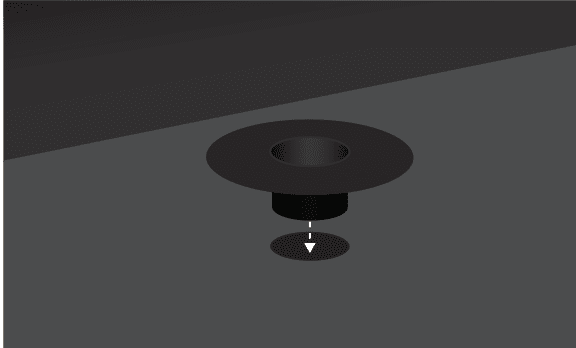
INSTALLING THE 68MM-110MM ROOF DECK DRAINS - FLEECE-BACKED Training hub - all your questions answered! For the best results, please follow the instructions below. STEP 1 Cut down the roof drain leaving a 50 mm equal flange the whole way around, drop the roof drain into the preformed hole. STEP 2 Fix the roof drain down onto the roof deck using countersunk screws. Note: if you channel out a section underneath the roof drain in the timber deck the same thickness as the plastic of the drain...

Read more...

Installing A Wall Drain | Training Hub

INSTALLING A WALL DRAIN - FLEECE-BACKED Training hub - all your questions answered! For the best results, please follow the instructions below. If you still have questions, please feel free to contact us using the form here… STEP 1 Offer the wall drain into the pre-cut hole in your parapet wall and mark around using a white pencil or scribe STEP 2 Remove the wall drain and apply a thin bead of lap edge sealant behind the drain. Once the sealant is fully applied, push the drain back...

Read more...

Pipes Through The Membrane – Pipe Box Pocket | Training Hub

PIPES THROUGH THE MEMBRANE - PIPE BOX POCKET - FLEECE-BACKED Training hub - all your questions answered! For the best results, please follow the instructions below. If you still have questions, please get in touch with us using the form. STEP 1 Ensure that the membrane around the pipe/penetration is clean, dry and free from dust or debris. Apply EPDM edge sealant where the pipe box pocket will be located. STEP 2 Clip the pipe box pocket together around the pipe/penetration and carefully lower onto the lap sealant. STEP...

Read more...

Pipes Through The Membrane – Pipe Flashing | Training Hub

PIPES THROUGH THE MEMBRANE - PIPE FLASHING - FLEECE-BACKED Training hub - all your questions answered! For the best results, please follow the instructions as detailed below. If you still have questions please contact us using the form here… STEP 1 Pull the pipe flashing firmly over the top of the pipe. Locate the ribbed band directly above the top of the pipe and cut along the top edge. Pull the pipe flashing down into its final position so that the underside tape sits on the...

Read more...

External Corner Patch | Training Hub

EXTERNAL CORNER PATCH - FLEECE-BACKED Training hub - all your questions answered! For the best results, please follow the instructions as detailed below. If you still have questions please feel free to contact us using the form here… STEP 1 Ensure the membrane around the external corner is clean, dry and free from dust or debris. Using a pencil, mark a small vertical line 60 mm from each edge of the cut membrane. STEP 2 Measure the distance between the 2 pencil lines being careful to measure...

Read more...

Internal Corner Detail | Training Hub

INTERNAL CORNER DETAIL - FLEECE-BACKED Training hub - all your questions answered! For the best results using our EPDM internal corners, please follow the instructions below. If you still have questions, please contact us using the form here… STEP 1 Form the membrane into a 45 degree (pig’s ear) shape where the membrane meets in the internal corner. STEP 2 Cut the pig’s ear vertically 80 mm out from the flat roof corner. STEP 3 Cut a patch of 229 mm flashing tape 160 mm wide and offer over...

Read more...

Butt Joining Membrane With 152mm Cover Strip | Training Hub

BUTT JOINING EPDM MEMBRANE WITH 152MM COVER STRIP - FLEECE BACKED Training hub - all your questions answered! For the best results, please follow the instructions as detailed below. If you still have questions please feel free to contact us using the form here… STEP 1 Draw a line 90 mm each side of the membrane join with a pencil or scribe using a straight edge as a guide. Keeping within the lines apply primer with a scrubbing pad. STEP 2 Once the primer is dry, carefully...

Read more...
EPDM roofing installation, Rubber Roof Installation

Installing The FlexiProof Membrane | Training Hub

INSTALLING THE FLEXI PROOF EPDM MEMBRANE - FLEECE-BACKED Training hub - all your questions answered! For the best results, please follow the instructions below. If you still have questions, please contact us using the form. STEP 1 Unroll the FlexiProof over the substrate so the sheet is in the desired position. Carefully open the tub of deck adhesive and stir. Using a medium pile roller on a pole, apply the deck adhesive evenly to the main area of the roof deck, paying attention to leave a 150...

Read more...

Roof Surface Preparation | Training Hub

ROOF SURFACE PREPARATION The prepared roof surface must be clean, dry, free from dust, and contaminants (bitumen, oil etc). Do not attempt to install EPDM on a damp or wet surface as the trapped water may vaporize causing damage to the roof sub-structure. When applying banding adhesive to the roof deck in temperatures below 5 degrees Celsius, condensation can form on the top layer. If this happens, do not continue with the installation. Wait until weather conditions improve before attempting the installation...

Read more...

PITCHED ROOF SLOPES ONTO THE FLAT ROOF

PITCHED ROOF SLOPES ONTO THE FLAT ROOF Training hub - all your questions answered! For the best results, please follow the instructions as detailed below. If you still have questions please feel free to contact us using the form here. STEP 1 Carefully strip 3 courses of tiles from the adjoining roof and remove the roofing battens. Carefully lift the existing pitched roof underlay and apply contact adhesives to the back of the EPDM membrane and to the roof lay board. Once the contact adhesive has tacked...

Read more...