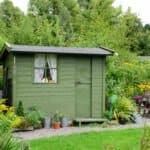
How to Waterproof a Shed Roof
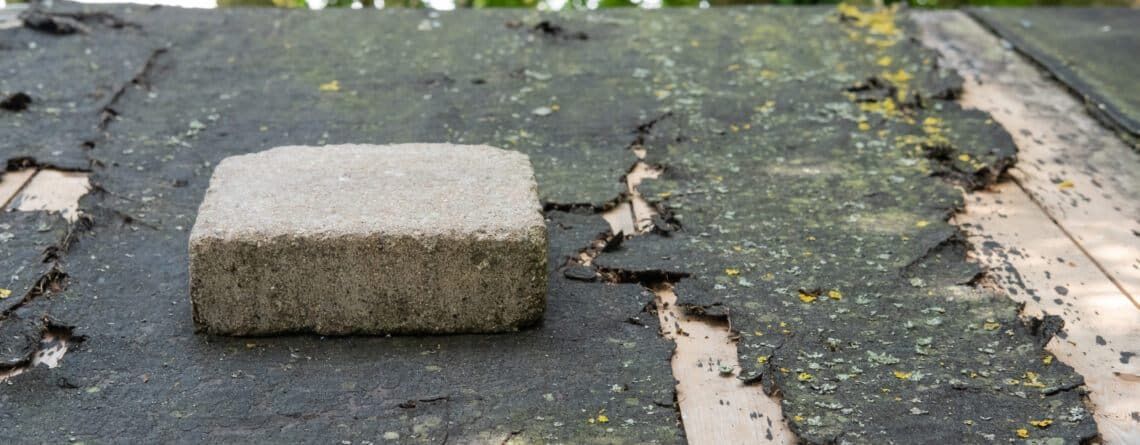
The humble shed is one of those places which we often take for granted. It can be a functional space used for a whole range of reasons from storing garden equipment such as mowers, strimmers and other tools through to being a practical garden retreat with electricity and a range of homely features. Subsequently you want to make sure that the items stored under the shed roof are protected from the elements and the best way to do this is through the application of a suitably constructed roof material. We take a great deal of care and invest in looking after the roof on our house but the shed roof is often overlooked with many using poor quality, thin felt which doesn’t offer the strength and resistance against the harsh British weather, particularly in the depths of winter.
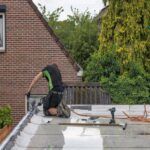
Rubber Roofing Direct are specialist roofing suppliers and we cannot underestimate the importance of a watertight and weatherproof roofing system. Subsequently, we have developed our very own rubber roofing kit which has been expertly designed for your shed roof. The kits contain a sheet of EPDM rubber membrane and adhesive to complete the task. Installation is quick and easy, completed in a few simple steps;
Correct preparation is essential before you install any rubber roofing membrane. Familiarise yourself with the products supplied in the kit and read the installation guide thoroughly.
If you are replacing the existing roof surface, carefully remove the trims or fascias on the roof. If they are in an acceptable condition, put them to one side so that they can be reattached to the new roof.
Carefully remove the old roofing including any nails or other debris and replace any deck boards which are worn or rotten.
Once the old surface has been removed, make sure that the deck of the roof is clean, free from debris and any contaminants such as grease or dust.
Remove the packaging from the EPDM roofing membrane and apply to the shed roof ensuring that the coverage is even. Leave the membrane for an hour to acclimatise to the environment.
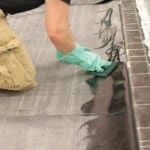
Fold the EPDM membrane back which will reveal the timber roof deck. Apply the deck adhesive evenly over the surface of the roof using the mini roller supplied in the rubber roofing kit. While the adhesive is still wet, apply the membrane to the surface using a soft brush or broom to ensure that there are no air pockets and gently remove any creases in the material. Repeat this process for the other half of the roof.
After applying the membrane to the deck you will need to cut it to fit neatly over the surface while leaving an overhang of 50mm. Fold this excess membrane back and then fix in place using galvanised clout nails. The final stage of the roof installation is to install gable end fascias and trims.
Rubber Roofing Direct are proud suppliers of rubber roofing systems and we help homeowners repair and replace shed roofing surfaces to offer long lasting, affordable and weatherproof rubber roofs.