FITTING WALL TRIMS & LEAD FLASHING – FLEECE-BACKED
Training hub – fitting lead flashing
For the best results, please follow the instructions below.
If you still have questions, please get in touch with us using the form.
STEP 1
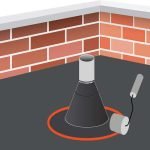
Before installing the membrane, make sure the mortar is chased out of the joint to allow installation of the lead flashing or wall trim. Doing this first allows the dust to be removed and protects the membrane from damage.
Make sure all dust is cleaned out of the newly chased out mortar line, this can be done using an air blower or dusting brush.


STEP 2
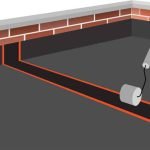
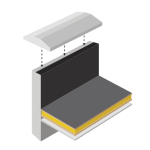
Once the membrane has been bonded vertically up the wall using contact adhesive, install the lead flashing or wall trim into the pre-ground chase line.
Fix in place using flashing clips and seal using silicone sealant.
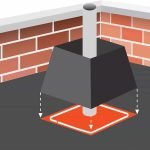
Note: Ensure the flashing are overlapping each other a minimum of 100 mm and that a minimum of a 100 mm coverage is achieved on the face of the membrane.
In areas of high wind or very exposed locations it may be necessary to fix metal wall trims with mechanical self-sealing screws through the front face.


