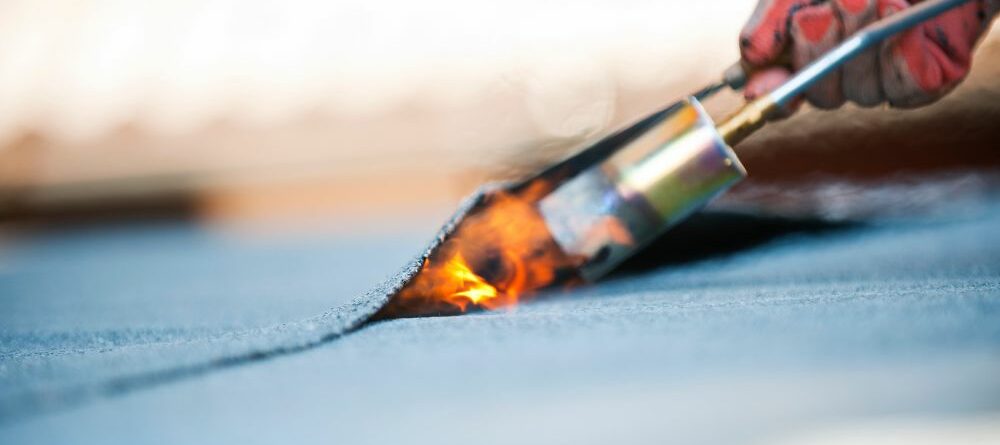
Felt roofs are a common, cheap flat roof material known to have a shorter lifespan than other flat roof materials (most manufacturers only guarantee the product for 10 years). Seeing as the material cannot withstand intense weather in the summer or the harshness of winter, weather damage is not uncommon, so you’ll want to choose a material that saves you hassle in the future.
Felt roofs are a common, cheap flat roof material, which is known to have a shorter lifespan than other flat roof materials (most manufacturers only guaranteeing the product for 10 years).
How to Replace a Felt Roof
Tips from roofing experts

Fleece-backed EPDM can be overlayed onto Felt
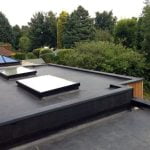
Better, weatherproofed materials like EPDM or Ethylene Propylene Diene Monomer, commonly known as rubber flat roofs, are the better choice for withstanding the elements, keeping costs low and maximising space.
Here’s our easy-to-follow guide on replacing a felt roof, focusing on using EPDM as the preferred material.
1. Assessment and preparation:
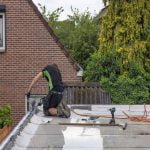
- Assess the existing felt roof to identify any damage or weak points.
- Inspect the roof for signs of water damage, tears or worn-out felt.
- Examine the roof’s underlying structure to ensure it is sound and capable of supporting a new material.
- Remove any moss, debris or loose material carefully from the roof.
- More detail.


2. Choose your replacement material
The best material choice for your flat roof:
- EPDM rubber: Resistance to UV radiation and extreme weather conditions. Best for flexibility making it the top choice for flat roofs. Request a sample.
- Other options include Bituminous waterproofing, fibre-reinforced plastic, Polyurethane and GRP.
Discover Flexiproof One Piece. Rated the best.
3. Measure and order your materials:
- It’s crucial to take accurate measurements and to order the right amount of EPDM membrane, which our cost calculator can help with, or one of our rubber roofing experts.
- Start by measuring the width of the roof, including protrusions like chimneys or vents.
- Add a buffer for overlaps and trimmings.
- Order EPDM in a single sheet, when possible, to minimise seams and points of weakness.
- Make things easier by ordering an EPDM kit.


4. When your material arrives, prepare your roof surface:
- Begin by cleaning the roof surface.
- Remove any remaining felt, nails or debris.
- Repair or replace damaged or rotten decking.
- Ensure the surface is smooth and dry before application.
Clean the roof surface thoroughly, removing any remaining felt, nails, or debris. Repair or replace any damaged or rotten decking. Ensure the surface is smooth and dry before proceeding.
5. Install the EPDM Membrane:
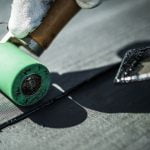
- Roll out the EPDM membrane across the roof – allowing for overhang at the edges.
- Use a water-based adhesive or specially formulated EPDM adhesive to secure the membrane to the decking.
- See step-by-step instructions here.
Read more:


6. Edge and detailing:
Crucial for preventing water ingress and ensuring longevity.
- Install EPDM edge trims around the perimeter of the roof.
- Use the sealant around roof penetrations like vents or pipes.
PRO TIP: Use our pipe seal or pipe box pockets around roof penetrations like vents or pipes.
See products:
7. Regular maintenance:
- Periodic inspections are essential.
- Check for any signs of damage or wear.
- EPDM roofs are easy to repair and require minimal maintenance.
Read next:


Replacing felt with EPDM – what to consider
EPDM is probably the best replacement choice for felt and is an excellent choice for flat roofs. But before you jump straight in, consider factors like your installation expertise and your budget. Consulting with professional roofers like us means we can provide you with advice you can rely on and valuable insights that you might forget to consider if going it alone.
Working with EPDM requires careful planning and accurate measurements. We can help guide you through the proper installation techniques to maximize EPDM’s durability, flexibility, and resistance to various environmental factors.

